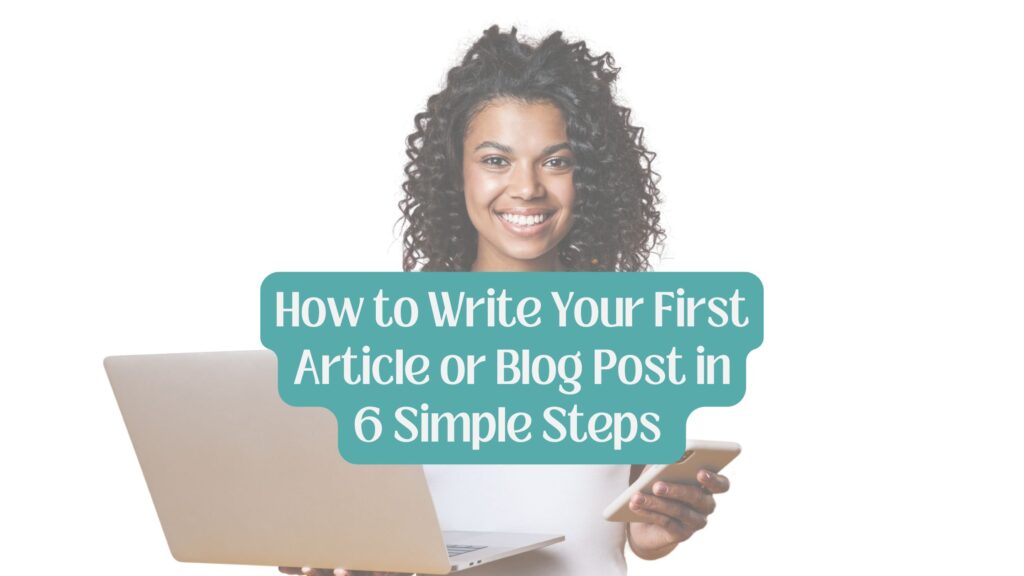
Today, I’ll show you how to write your first article so you can finally publish online with confidence.
These are actually the exact steps I use to create my client’s and my own blog posts and LinkedIn articles.
I know how intimidating article writing can be.
Especially if you’ve never done it before.
You don’t know what to write about. And when you find a topic, you’re stuck on how to expand and present it meaningfully.
So you end up never writing at all.
But writing articles consistently is one of the best ways to establish authority online as a writer.
It helps you attract clients instead of constantly chasing them, create opportunities to earn from affiliate marketing, and promote your freelance writing business.
Writing articles is genuinely one of the best decisions I made for my career early on.
I’ve been able to transition from my corporate job into full-time freelance writing.
And now I make money from home, doing something I enjoy.
So today, I want to help you do the same.
Let’s get you started on your writing journey by building a solid foundation to beat writer’s block and quiet the self-doubt so that your voice is finally heard.
The best part is you’ll have it all down in just six steps!
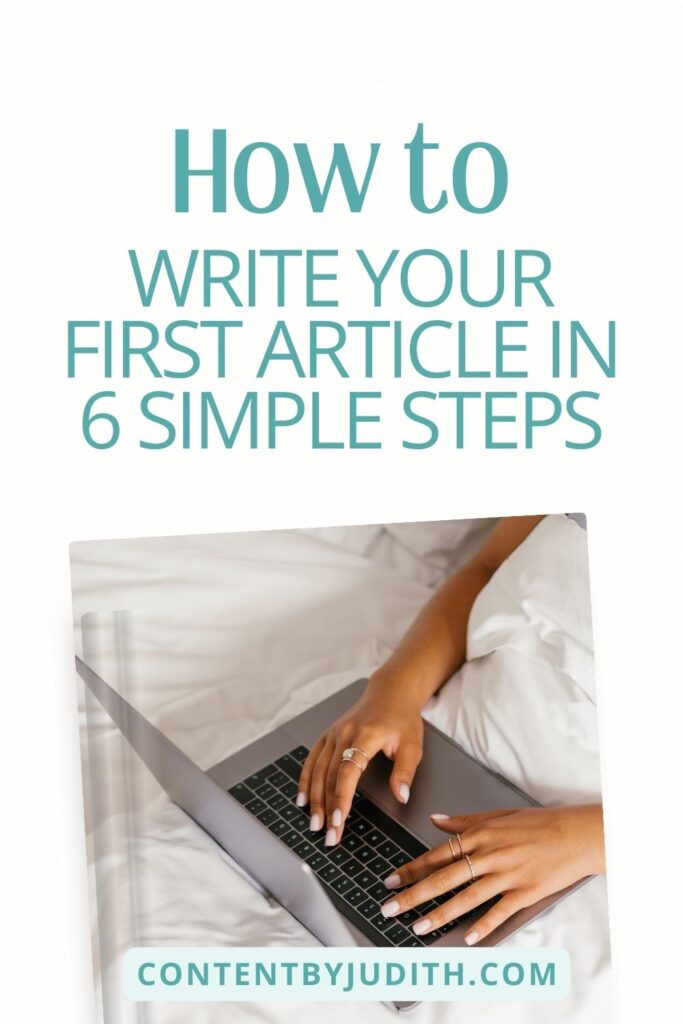
How to Write Your First Article
Here’s a simple summary to help you write your first article (and every one after that) so that people actually enjoy reading what you put together:
- Choose a topic and determine your purpose for writing it
- Know who you’re writing for
- Research your topic for depth
- Create an outline of your article
- Pick one clear angle
- Edit and Proofread
New writers have often asked me to review their work. And more often than not, I notice the same thing- they don’t follow a structure.
Without a structure, it’s easy to lose direction and your article lacks depth.
These steps are the foundation for any writer who wants to find their voice, build an audience, or start a freelance writing career.
They’re the exact content writing tips I wish I had when I was starting out.
Let’s break down each step in more detail.
Step 1: Choose a Topic and Determine Your Purpose
When you’re figuring out how to write your first blog post or article, it all starts with choosing your topic.
What do you know or care about that someone else would find helpful, inspiring, or interesting?
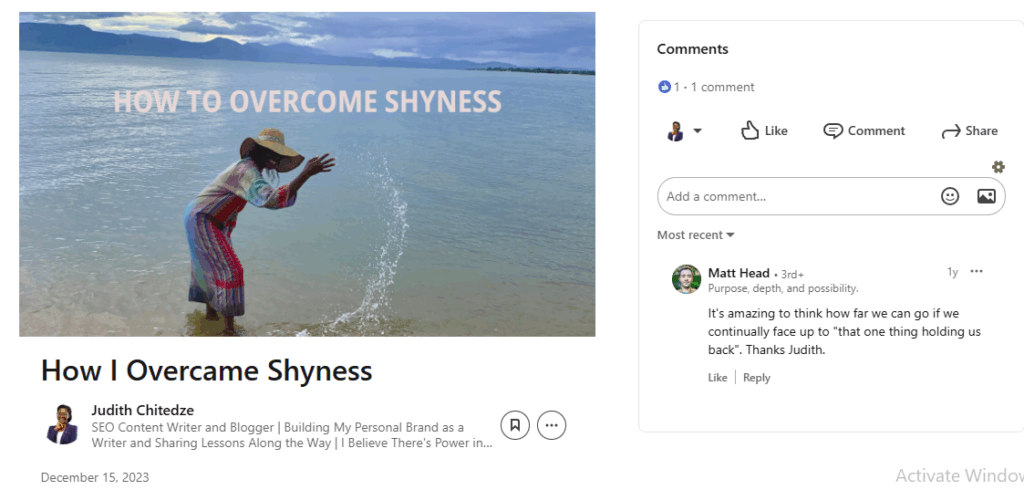
When I wrote my first LinkedIn article, I chose a topic that was close to my heart- overcoming shyness.
At the time, I was just starting my intentional career development journey.
It was one of my first attempts at storytelling and building an audience online.
Since shyness is a common challenge for so many people, my purpose was to encourage anyone struggling with confidence and share some practical tips to help them overcome it.
You’ll need to do something similar with your own topic idea.
Start by listing a few things you could write about. Then choose one to focus on.
Here are a few ways to come up with blog post ideas:
- Answer a common question you’ve heard from friends about a particular thing (like “how to grow healthy natural hair” or “how to choose a career path”)
- Share a personal experience or someone else’s story and what you learned from it.
- Write about something you’re currently learning (like “5 Things I’ve Learned About Personal Branding This Week”)
The key is to choose a topic you’re genuinely interested in, and determine your purpose for writing it.
What’s in it for the reader? (why would they want to read to the end?)
What do you want them to walk away with?
Your purpose might be to educate your audience by teaching them something, inspire with a story or insight, connect by sharing something relatable or vulnerable, or position yourself for career opportunities by showing your skills or experiences.
If you skip this step, you risk writing an article that feels scattered or flat.
But when you know your topic and your purpose from the start, you’ll have a strong foundation for everything that comes next.
This step is absolutely necessary to give you direction on what to cover in the body of your article.
Step 2: Know Who You’re Writing For
Who do you want to help, inspire, or connect with through your article?
That will be your target audience.
As I write this, I have the participants in my 8-week article writing challenge in mind.
So think of one real person you know and write as if you’re talking directly to them.
Give them real value that helps them move from point A to B.
Here are a few questions to guide you:
- How old are they?
- What are their interests and behaviors?
- How much do they know about your topic?
- What are they trying to achieve in relation to your topic?
Another approach that has helped me find my target audience is thinking about the things I desperately wanted to know yesterday, last week, or last year that I know now.
Then I write content answering the question yesterday Judith needed answers to.
You could use the same approach to make content creation easier for yourself as a beginner.
Think about something your yesterday self really wanted to know and write your first article around that.
I love what Brian Dean, founder of Backlinko, said in one of his blog posts about identifying your target audience:
“You definitely want to pick one small niche at first. You can always expand it out later. Or, like my newsletter, change your audience altogether.”
So don’t worry too much about niches right now. Just get your first article out there.
Step 3: Research Your Topic to Write Your First Article
Research is a major part of content writing, but many new writers struggle with it.
Here’s what you can do to write your first blog post without getting overwhelmed:
Start by typing your topic idea into Google and opening the first 3-5 search results.
Study how other writers have approached the topic.
- What headlines are they using?
- How have they structured their entire article? (introduction, subheadings, conclusion)
- What kind of detail have they included under each subtopic?
This will give you a feel for what’s already out there and how you can write your first article with your own unique twist.
Remember, you’re not trying to reinvent any wheels here.
Almost any topic you can think of has already been written about online.
What “adding your unique twist” means is to include your personal experience, related to the topic, to give it a fresh angle.
Start a Google Doc or use your Notes App to collect useful stats, quotes, or insights you come across anywhere to use when writing your first blog post (and your next ones too).
Be sure to save links you might want to reference within your article.
You can also use YouTube videos for inspiration, especially to see how others simplify complex ideas.
The key is to combine research with your own experience.
Adding examples from your life makes your article more practical, relatable, and gives it more depth.
When using information from online sources, remember to paraphrase to avoid plagiarism.
Step 4: Create an Outline of Your Article
Creating an outline helps you stay focused and organize the information you want to present into sections.
Outlining your article gives structure to your writing, streamlines your process, and creates clarity for your reader.
An outline is the skeleton of your article.
This is the simple 4-part structure you need to follow when writing your first article:
- Start with a title
- Followed by an introduction
- Then the body of your article
- And finally, your conclusion
The Title
Your title should be catchy. It’s the first thing a reader sees.
Make it interesting enough to grab their attention.
The Introduction
Your introduction should be equally compelling.
Start your first line with a relatable moment, a story, or a question to pull your reader in.
Be concise and go straight to the point.
Let readers know what the article is about and why it matters without beating around the bush.
The Body
This is where you break down your topic into key points which you’ll present in two to four subheadings.
Each subheading should expand on one point with practical examples, personal stories, facts, or statistics.
The body is where you deliver on the promise of your title. It’s the main reason your audience clicked to read so make it worthwhile.
(I’m doing this right here where I break down each step of the article writing process for you).
The number of subheadings you’re going to have when writing your first article will depend on the length you’re aiming for and where you’re publishing it.
An 800-word article will naturally have fewer subheadings than a 4,000-word article.
Detailed blog posts usually run upwards of 2,000-4,000 words, especially if you’re creating in-depth, step-by-step guides, type of content.
The Conclusion
Wrap up by repeating the key message of your article.
Encourage or challenge your readers to take action, and add a call to action.
Your call to action could invite readers to leave a comment, subscribe to your blog, or connect with you on social media.
Step 5: Pick One Clear Angle
It’s easy to get carried away and drift into unrelated details when writing your first article.
This is something I still struggle with, especially when I’m writing motivational pieces.
I tend to go on and on, and often have to trim my words to keep a LinkedIn or Instagram caption concise and straight to the point.
You want to stay focused on the main purpose of your article and deliver on that promise.
Keep referring back to your title to stay on track.
And make sure each section sticks closely to its subheading as you break down your main topic.
That’s exactly what I’ve done in this article.
Each section is focused on helping you write your first article in six simple steps.
Because I know you, my audience, want clear guidance on the exact steps to take to write your first article- and I’m keeping that in mind as I write.
Step 6: Edit and Proofread
You’re done writing your first draft, now it’s time to polish it up.
Start from the top and reread your article to make sure your ideas flow logically and are easy for readers to follow.
Communicate your points clearly, and remove any unnecessary words or repetition.
I use Grammarly to help me improve my sentences before publishing.
Google Docs is also a great tool to use when you write your first article. It automatically catches spelling and grammar mistakes, underlines them, and suggests corrections when you hover over the word.
ChatGPT is another helpful tool for suggesting better wording and polishing your article for a smoother flow.
But use these tools with discretion. Trust your own creativity.
You don’t have to accept every suggestion from Grammarly or ChatGPT, especially if it changes your tone or weakens your argument.
You should never use ChatGPT to generate your first draft.
Use it to help you present your own ideas better.
Once you’ve edited for grammar, flow, and clarity, it’s time to release your first article into the blogosphere. Woohoo!
Final Thoughts
It’s time to write your first article, passionate writer, and I’m here to cheer you on.
I’ve shared all the steps you need to finally take article writing head-on.
When I was starting out, I struggled with writing long-form content too.
And Even after publishing over 30 articles, I still feel like there’s more to learn and improve.
So don’t feel like you need some special skills to begin.
Your passion for writing is the only fuel you need.
I would love it if you could share the link to your first article with me on LinkedIn!


18 Responses
Awesome https://t.ly/tndaA
Very good https://urlr.me/zH3wE5
Very good https://urlr.me/zH3wE5
Very good https://rb.gy/4gq2o4
Good https://is.gd/N1ikS2
Very good https://is.gd/N1ikS2
Awesome https://is.gd/N1ikS2
Awesome https://is.gd/N1ikS2
Very good https://is.gd/N1ikS2
Good https://is.gd/N1ikS2
Awesome https://is.gd/N1ikS2
Very good https://is.gd/N1ikS2
Good https://is.gd/N1ikS2
Very good https://is.gd/N1ikS2
Very good https://is.gd/N1ikS2
Very good https://is.gd/N1ikS2
Very good https://is.gd/N1ikS2
Very good https://is.gd/N1ikS2